
Real Time Clock (DS1302)
Summary
The DS1302 Real Time Clock (RTC) is a trickle-charge timekeeping chip contains a real-time clock and calendar and 31bytes of static RAM and its communicating with a microcontroller or microprocessor via a simple serial interface. The DS1302 real time clock and calendar provides seconds, minutes, hours, day, date, month, and a year information, end of the month date is automatically adjusted for months with fewer than 31 days, including corrections for leap year. The clock operates in 24 hours or 12 hours format with AM and PM indicator.
This module is very useful for making things running on date and time, it can be interfaced to any microcontroller or microprocessor in order to control the events. this also helpful specially when driving timings and execution on a precise time.
Interfacing the DS1302 with a MCU is simplified by using SSC (Synchronous Serial Communication). Only three wires are required to communicate with the DS1302 clock Random Access Memory or RAM. The required wires will be RST (Chip Enable), DAT (Input Output Data Line), and CLK (Serial Clock). Data can be transferred from the clock RAM 1 byte at a time or in a burst of up to 31 bytes. These chips are designed to operate on very low power and retain data and clock information on less than 1uW.
modified from Maxim data sheet (https://datasheets.maximintegrated.com/en/ds/DS1302.pdf)


How to Connect
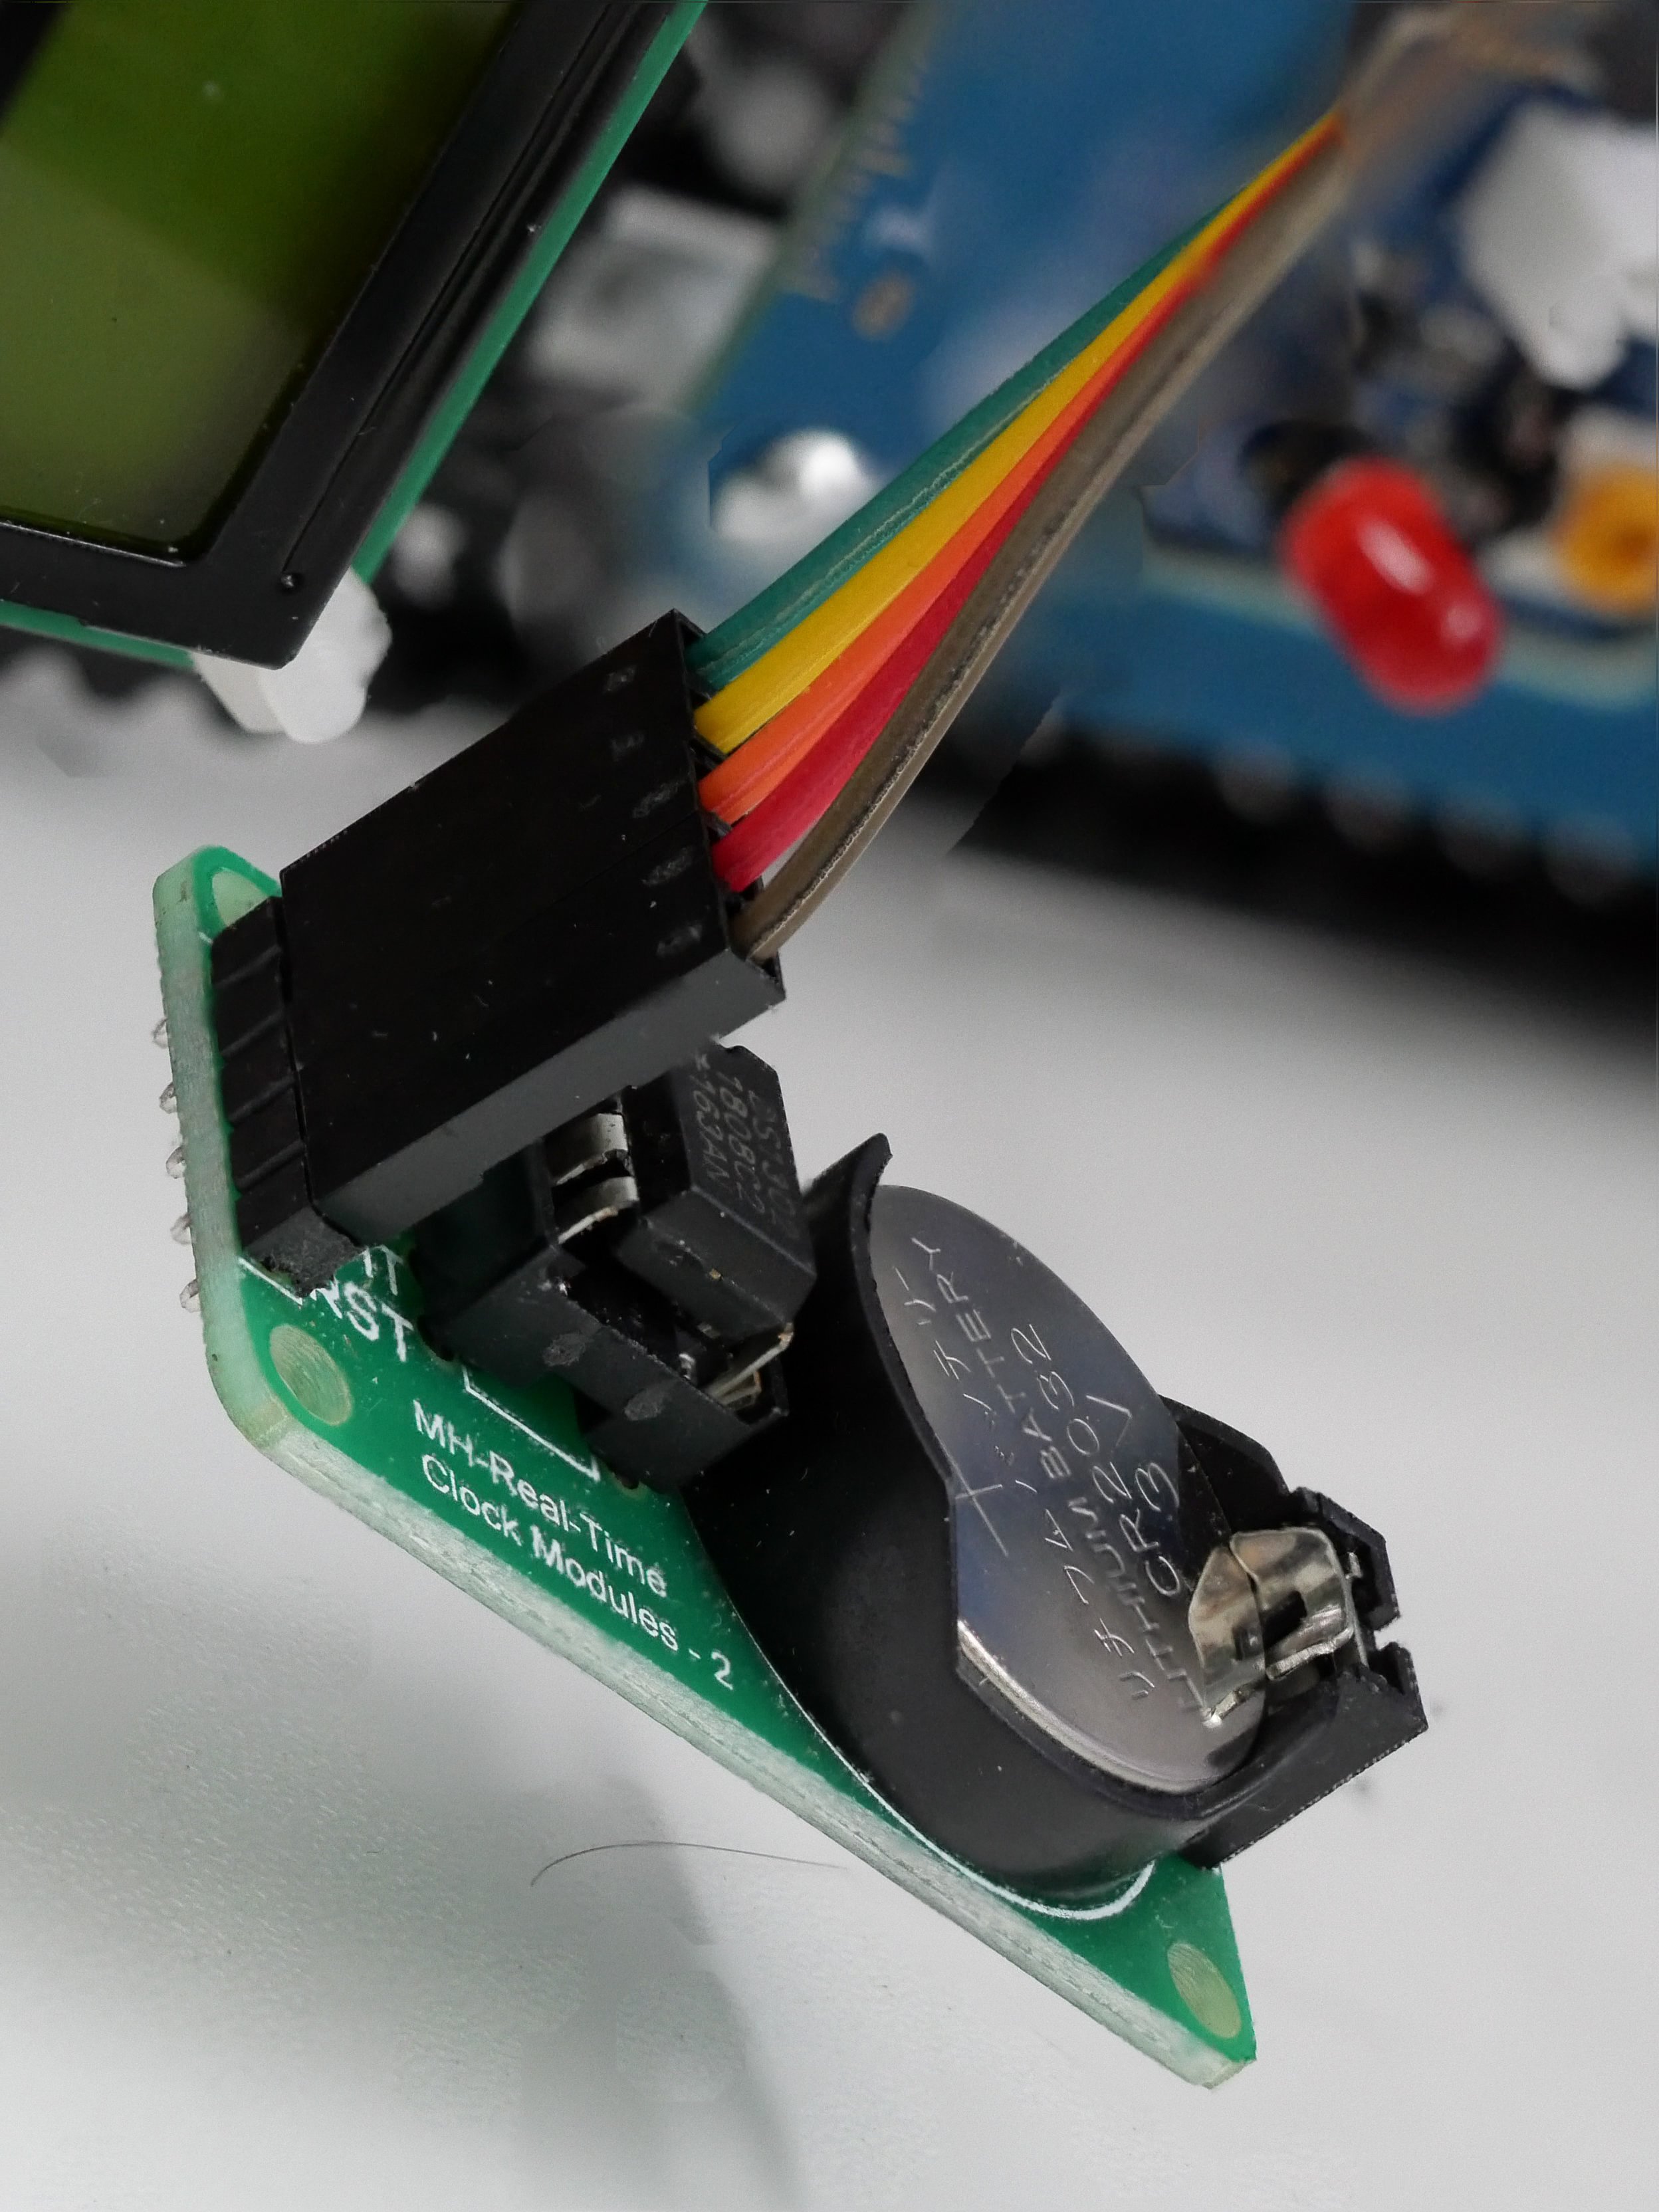
Important: the board is designed for use with a CR2302 coin cell lithium battery (3V) for backup of the set time and date. Install a battery if you require non-volatile storage. The estimated life of the battery will be up to 10 years.
To connect to the Grove board:
This board is set up to communicate with the Arduino micro controller via a 3-wire interface (rather than 2-wire I2C interface). There are 5 connecting pins on the module, including the power and ground pins, and these need to be connected to relevant ports on the central microcontroller board on the Grove Beginner Kit. You may connect pins on the DS1302 RTC board directly to the central yellow connector on the Grove Beginner Kit, or use the breadboard as an intermediate plug board. It is more convenient to use the breadboard if multiple components need to be powered at the same time.
Select three unused digital ports on the microcontroller. For example, we will use ports D7, D8 and D9 in this example.
Connect the three control pins (marked CLK, DAT and RST) to the digital sockets on the central microcontroller board on the Grove Beginner Kit - directly, or via the breadboard.
Connect the GND pin/socket on the RTC module and microcontroller boards - directly, or via the breadboard.
Connect the VCC (voltage common collector) pin on the RTC to a 5V source on the microcontroller board - again, directly or via the breadboard. This RTC module can be connected to 5V or 3.3V based microcontroller boards. (The Grove Beginner Kit uses 5V signals).

How to use in XOD

The DS1302 clock can be obtained in different versions with either I2C or 3-wire communication protocols. The Stage 2 Biomaker kit contains one of the latter, and the cesars/ds1302/ds1302 library should be loaded and used with this board.
The ds1302 library provides a base node for control of the RTC device (ds1302-dev), and this can be connected to ds1302-write and ds1302-read nodes as required. In order to use the RTC, you should set the current date-time the first time you use the clock. The write node is used for this (example shown right). The time is then updated automatically while the RTC is powered or connected to the backup battery.
The read node can then be triggered to obtain the current time when required. This provides a readout of the current year, month, day, weekday, hour, minute and second. The output can be formated for display, creation of a timestamp or used for calculations.
For more information: https://forum.xod.io/t/how-to-read-time-from-non-i2c-ds1302-rtc-module/4341
Note for I2C RTC devices:
(XOD provides an in-built library xod-dev/ds-rtc for use with the I2C RTC boards. The XOD website also provides a tutorial on how to use an I2C real-time clock module in XOD - Digital Clock Example: Working with RTC Modules.)
Notes
Digital Clock Example — working with I2C RTC modules in XOD: https://xod.io/docs/guide/rtc-example/
Technical Specs
Find details of the DS1302 RTC module here: https://www.aliexpress.com/item/32833231512.html
Download DS1302 integrated circuit datasheet here: https://datasheets.maximintegrated.com/en/ds/DS1302.pdf